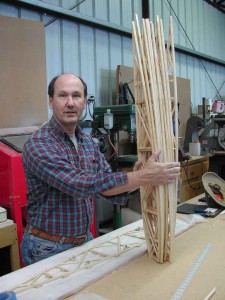
Building jigs and ribs
By Don | June 17, 2008
The “big picture” for the Tiger Moth project was to build the wings first. The structure of a wing is formed by wing ribs, which gives the curve of the wing, so this was the first task.
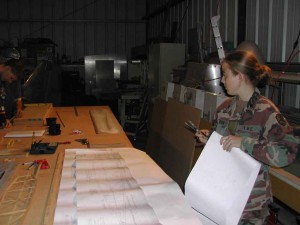
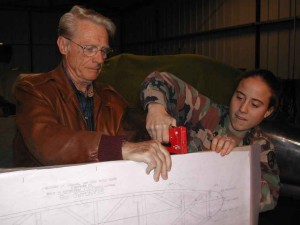
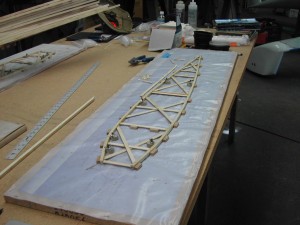
The first students had to build the jigs, or templates, for the ribs. Each template was a rigid piece of 3/4″ plywood about 3′ long. We made 4 jigs, stapled full size blueprints to them and covered the blueprints with plastic for protection.
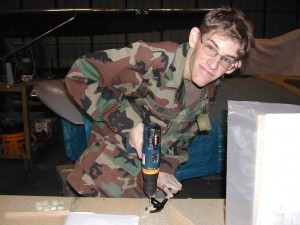
The next issue was to figure out how to hold the future wood pieces in the jig. That was solved by cutting wood dowels into little pieces, drilling holes OFF CENTER in the pieces, so that when they rotated on the jig you could clamp the pieces firmly in place.
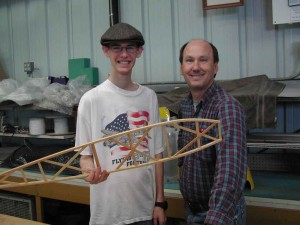
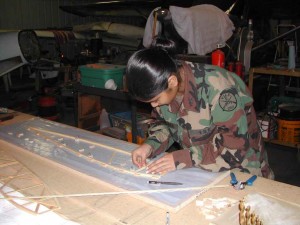
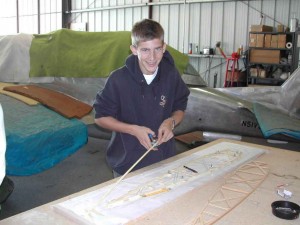
Now we could start building ribs. Over the course of a couple of years, meeting twice a month on Tuesday nights, the students would build over 60 ribs.
Once a student completed a rib, we taught the concept of peer review. Other students would inspect the rib, offer suggestions or note missed pieces, etc.
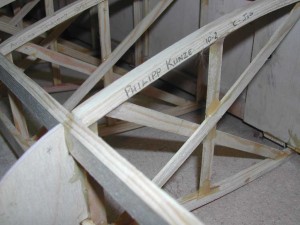
But the most important stage came when the rib passed quality control (me!) and the student wrote their name and date on the rib.
So over time, we started to slowly build our stockpile of ribs.
