Building the spars and adding the ribs
By Don | June 17, 2008
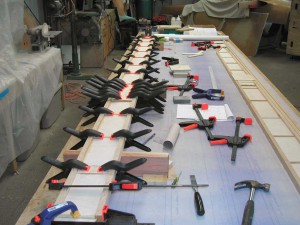
The next step in the Tiger Moth project (after building the ribs) was to build the main and rear spars. You just can’t have enough clamps…
Both the main and rear spars are built in an “I” beam configuration; the web portion is plywood, sitting in a groove in the upper and lower spar caps. Note the blueprints we’re working off of.
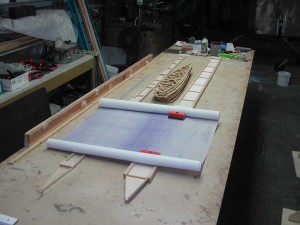
Now what? Time to study the blueprints and figure out what to do!
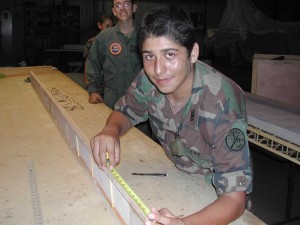
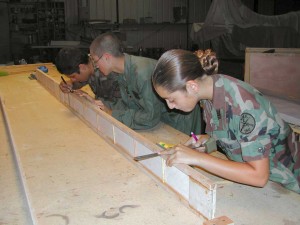
Layout comes next for the rib positioning.
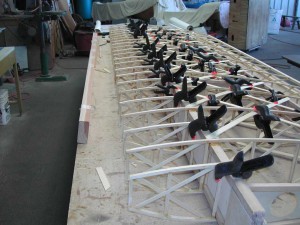
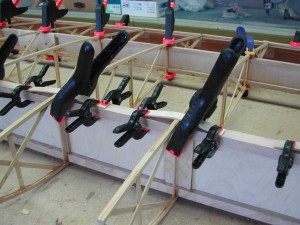
What you see next is how it looks after we’ve clamped the ribs to the main spar. We use a 2 part epoxy called T-88; pretty tough stuff. Note that we’ve also added the upper layer of geodetic crossing bracing. Everything you see for the upper side we have to repeat on the lower side.
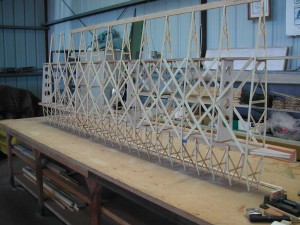
We got used to flipping the wings! The wings are surprising light for their bulk – just over 20 pounds. In the above photo you can see we’ve added “false” ribs in front of the main spar (for the leading edge) and also note the 4 compression struts between the the main and rear spars. They have “lightening” holes – not the bolts from the sky, but to reduce weight.
It’s starting to look like a real wing, but there’s still a lot more detail left.
