Details, details, and more details
By Don | June 18, 2008
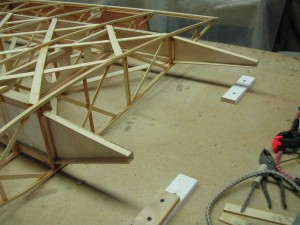
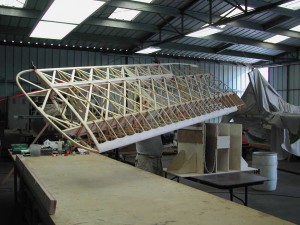
The Tiger Moth wing now has its leading edge, but there’s still a lot more to do. The next step is to add the wing tip bow and all the inside bracing. (Technically, the wing tip bow was installed before the leading edge was wrapped – a bit of writer’s license.) This is what the end of the wing looks like with the main and rear spar extensions.
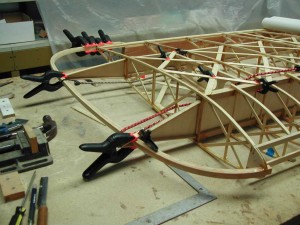
I’ve epoxy’d the bow into place – bungy cords (big and small) also have been really useful on this project.
Later, I’ll come back and add a lot of internal bracing between the bow and the spars and tip rib. I’m planning on adding nav lights down the road, so I’ve made accomodations for that in the upper right and left wings.
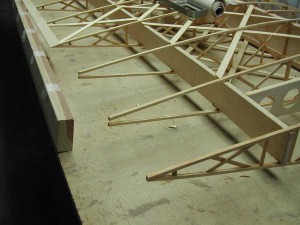
Now comes a little architectural detailing at the inside (closest to fuselage) trailing edge of the wing. Note that the 3 ribs are just “floating” out in space. That’s because we’re going to add a gently curving piece in there.
So what’s been done here is I’ve trimmed and re-braced the 3 inner ribs and later I’ll epoxy the curved trailing edge into place.
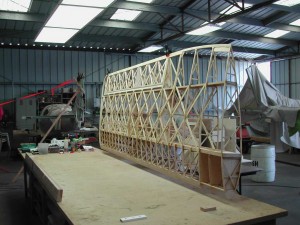
This is the lower right wing (being flipped again…!) with the bow tip bracing and finished aileron (which has been clamped to keep from flapping).
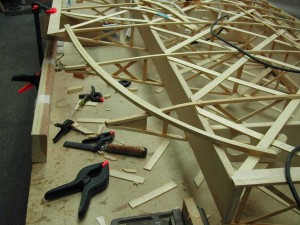
This shot shows the gently curving inside trailing edge plus the beginnings of the wing walk.
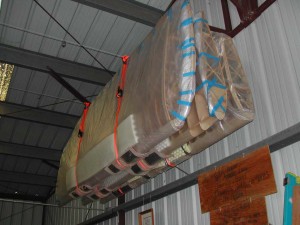
So after countless hours of work, we now have 3 wings hanging from the roof rafters (padded and wrapped for California earthquakes!).
