Tiger Moth project update
By Don | January 7, 2009
I was able to spend some “quality time” on the Tiger Moth over the Christmas holiday season. Work on the airplane generally comes in spurts, in increments of an hour or two – as you’ll see why.Over the past couple of weeks for example, I’ve attached the wing tip bow, and installed the nose caps to the “false spars” around which I’ll wrap thin, 1/16″ Finnish plywood for the leading edge. The problem is you epoxy some pieces, then wait…
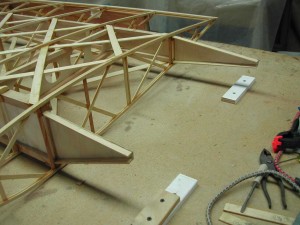
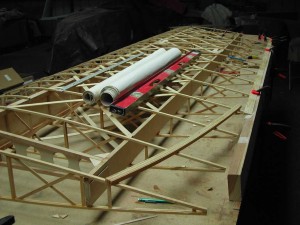
So in the current exercise, I started with these two spar extensions (actually, this picture is of the upper left wing – I’m currently working on the lower right wing) and I needed to sand the extensions to get a good curved fit of the bow.
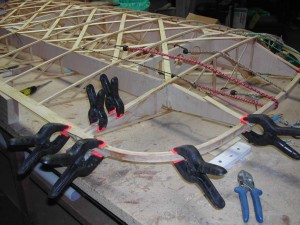
I probably spent an hour or more just futzing around these things, doing dry fittings, futzing some more, doing another fitting and futzing some more again. The wing tip bow was build “wild”, meaning long. So I carefully cut the ends in half inch increments, then quarter inch increments until things looked just right.
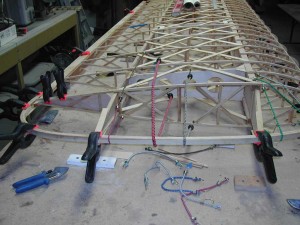
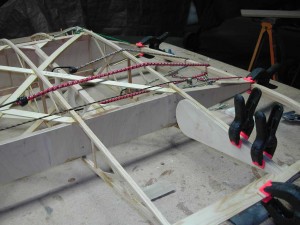
Then I mixed up the T-88 two part epoxy and fit the piece, held in place by bungee cords and clamps.
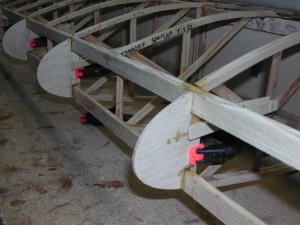
What took maybe half an hour was cutting and fitting 2 nose caps at the end where the wing tip bow curves into the leading edge. I’d mixed up extra epoxy and glued in the nose caps to the full length ribs. There’s a leading edge plywood splice in the middle of the wing, and 2 nose caps were installed there. Here’s what the nose caps look like up close:
So now I wait. This trip to the hangar is done. I’m pleased with the work. Future trips to the hangar will trim the 3 inside (or root ribs) to accommodate that curved trailing edge piece (for looks only), wrap the leading edge ply over those nose caps (tricky job), and build the aileron.
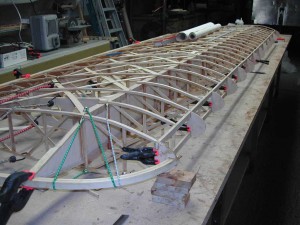
The aileron will be built into the wing, then carefully cut out. I used the future end piece of the aileron as a guide (below), which gives you an idea of what it’s going to look like. But that’s another day, another trip to the hangar, another job!
