Update on Tiger Moth – part 1
By Don | May 2, 2009
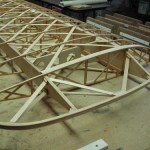
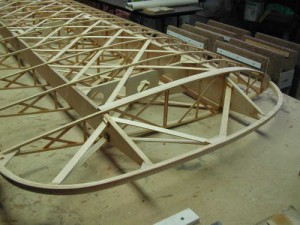
Wing tip bow finished
In my last report I mentioned how I had to re-do the wing tip bow. I wasn’t a happy camper. I’d epoxy’d that laminated, curved bow to those 2 extensions, but something had slipped and I used a heat gun to loosen the epoxy and then re-set the bow. It worked the second time, then I added the bracing and various small blocking pieces.
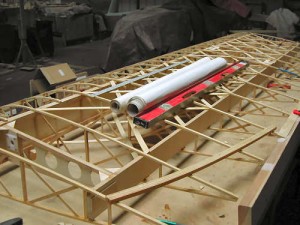
Then it was on to installing a curved, laminated piece at the trailing edge of the wing, next to the root. It’s strictly for looks, and will give a more pleasing sense to the eye when done.
Read on for more details!
Back to the wing tip bow, you can see the bracing and gussets plus I’ve sanded a gentle bullnose on the edge of bow (for the future fabric covering).
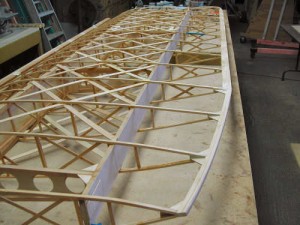
So now it was time to add a curved, laminated piece at the trailing edge of the wing, where the wing comes into the fuselage – strictly for looks, to give a more pleasing curve of a line.
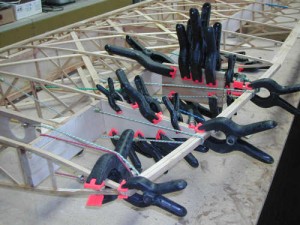
This required cutting and trimming back the ribs, re-installing bracing into the ribs and then clamping it all together.
