Update on Tiger Moth – part 2

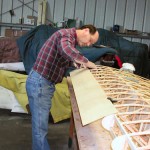
Laying out for the leading edge.

Laying out for the leading edge.

During April, after installing the wing tip bow and the curved inner trailing edge piece, I started on wrapping the leading edge of the wing.

This is the 4th wing (of a bi-plane) and yet I’m somewhat nervous because this is 1/16″ Finnish plywood – very thin and yet very workable for this application.

I’ve previously installed the rounded nose caps that I’ll be wrapping the plywood over, and ultimately, it all gets covered in fabric – just like a 1930s era airplane.

So how’d it turn out? Check it out and see!

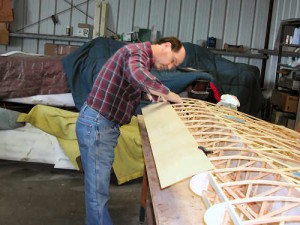
I started out by wetting the ply to help it bend, then doubled checked my layout.

I started out by wetting the ply to help it bend, then double checked my layout.

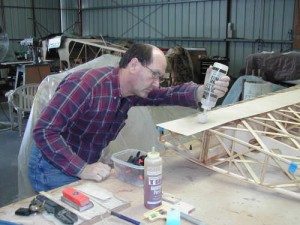
I use a 2 part epoxy called T-88 and it gives me about 20 minutes or so to work.

I use a 2 part epoxy called T-88 and it gives me about 20 minutes or so to work.

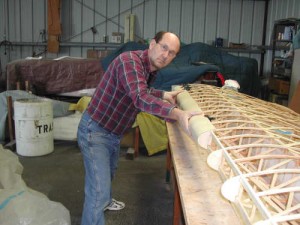
Nice and easy with the bending please!

Nice and easy with the bending please!

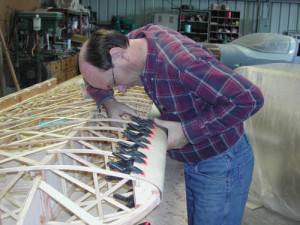
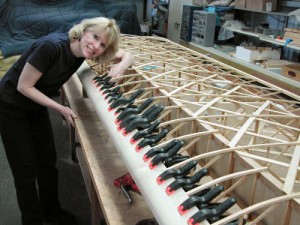
I staple the ply (and pull them out later) and start the clamps.

I staple the ply (and pull them out later) and start the clamps.

Leslie helps because we need to do both the upper and lower sides before the epoxy sets.

Leslie helps because we need to do both the upper and lower sides before the epoxy sets.

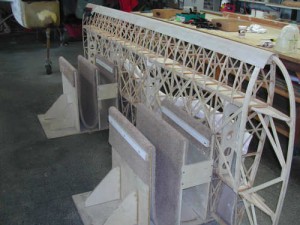
And on Saturday, May 2nd, I've got the wing sitting in its cradle, ready to trim both ends.

And on Saturday, May 2nd, I've got the wing sitting in its cradle, ready to trim both ends.

Filed under article topic: Tiger Moth
Comments Off on Update on Tiger Moth – part 2
Comments are closed.